You are here
Frequently Asked Questions
Accounts
Step 1
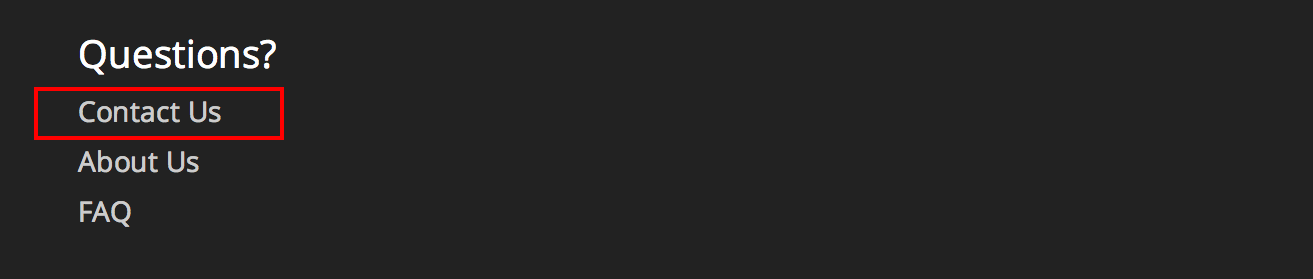
If you would like to join, please contact us. You can also find the "contact us" link at the footer of the page.
Step 2
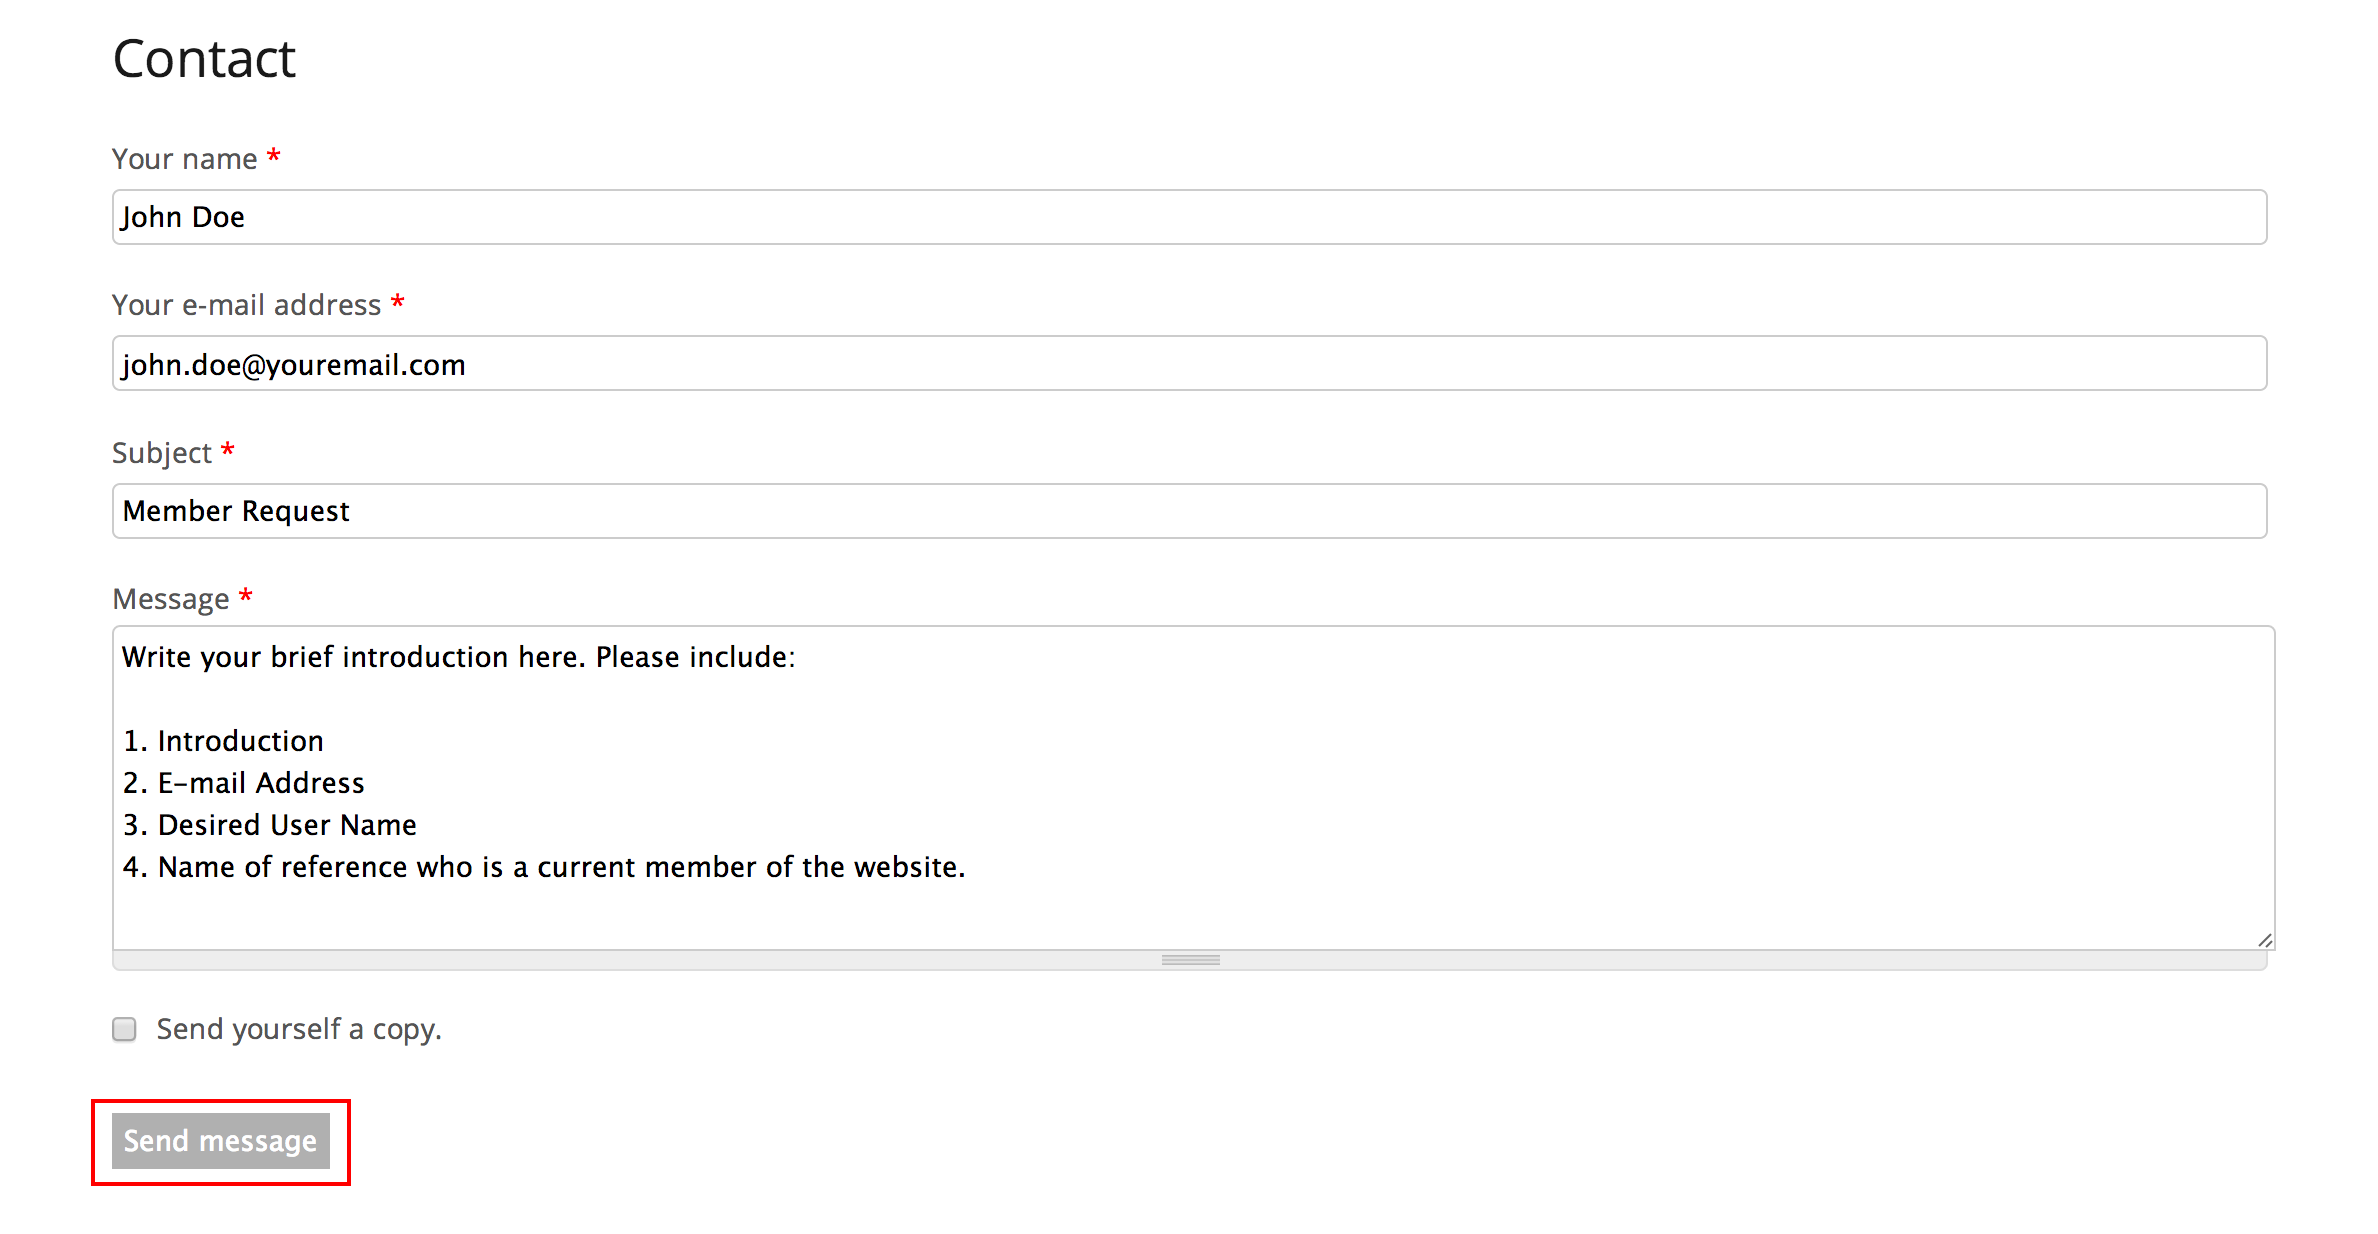
Fill out the "Contact Us" form. Your message should include a brief introduction to yourself, your e-mail address and desired username, and at least one reference we can contact to verify your membership in the community. References should be members of the human rights lawyering community, ideally individuals who are already a member of this site.
Step 3
Click "Send Message" to submit your request.
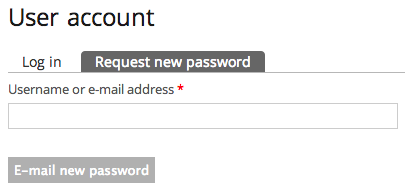
Where you would ordinarily log in to the site, there is a link that says Request new password. Click this link.
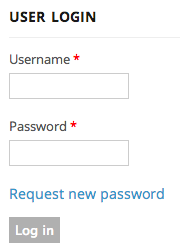
You will be redirected to a screen where you can enter either your username or e-mail address. Type one of these and click "E-mail new password." A new password will be sent to your e-mail address shortly.
Archive
The Archive page of the site consists of a number of resources related to human rights law practice and history, including reports, case documents, important judgments, and interviews with human rights lawyers. Recently added items are displayed first, but you can use any of the links on the left hand side of the page to find a list of items that fall in a particular category or concern a particular topic.
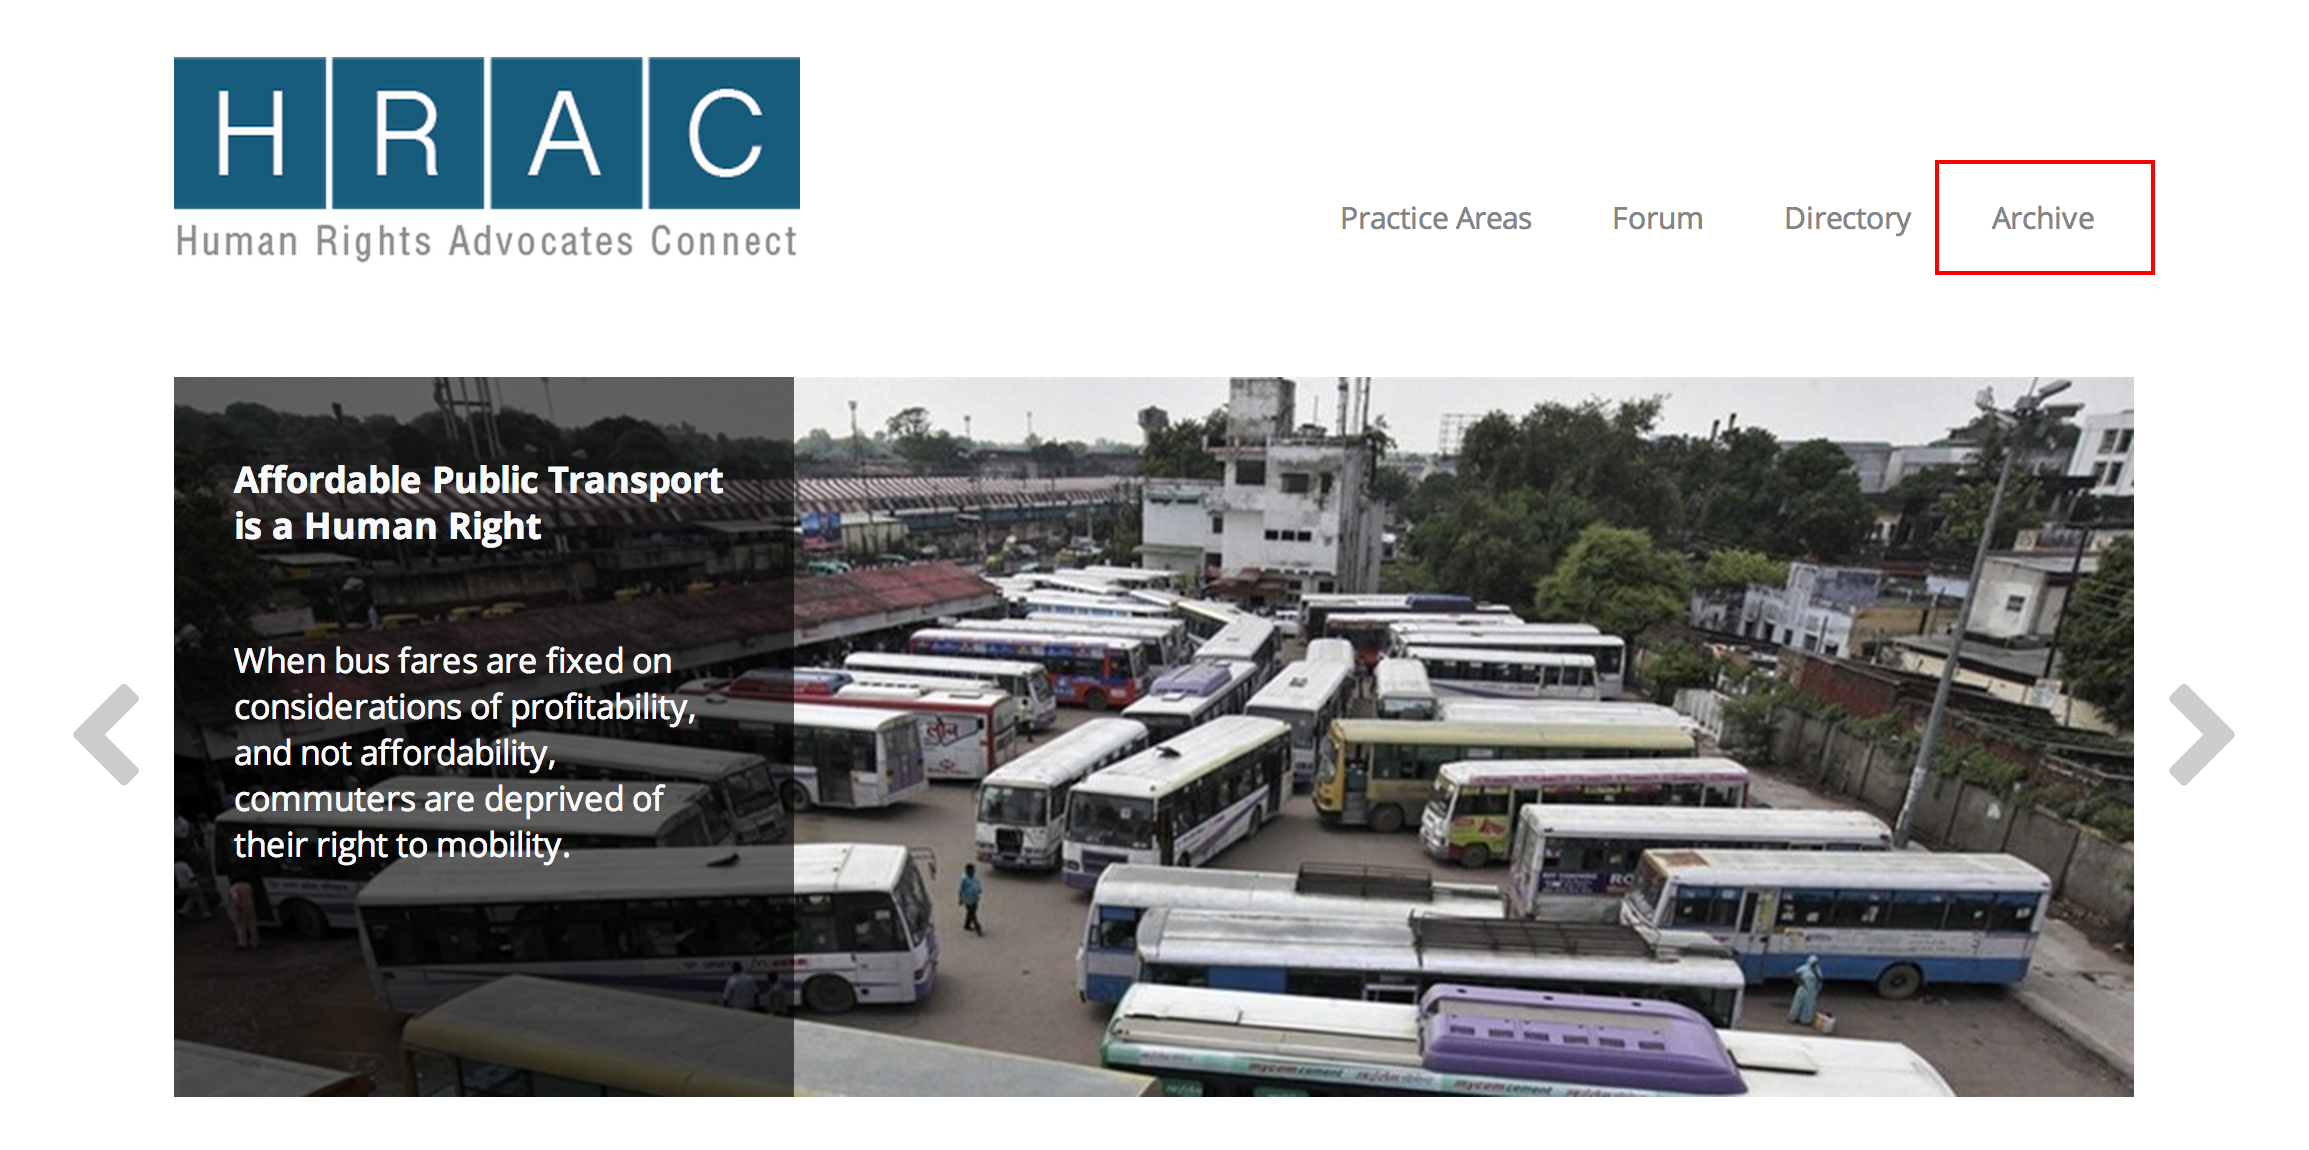
Step 1
From the homepage, click on the Archive link. It is located on the top right hand corner of the page.
Step 2
Click on one of the tags below a post or on any of the categories in the left-hand column. This will lead you to a list of items in the archive that correspond to that term.
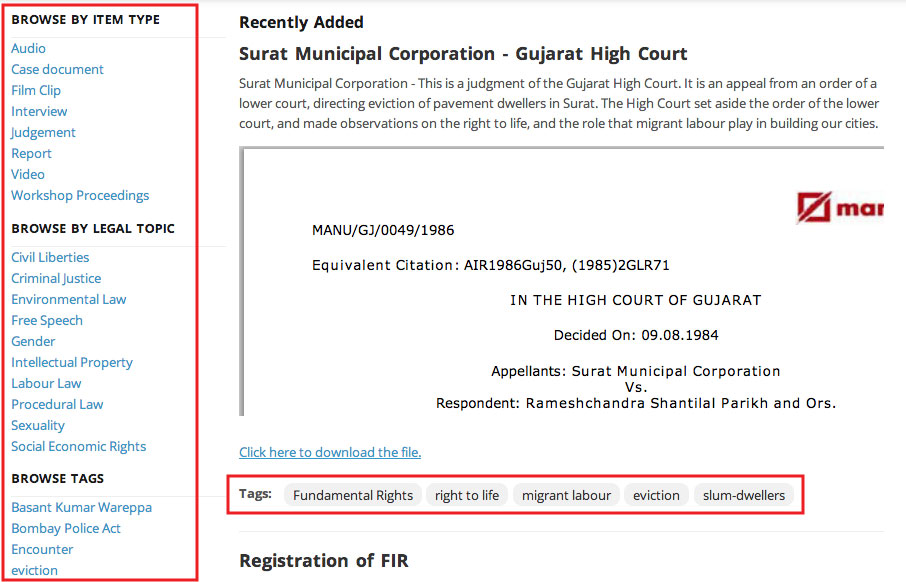
Note: This list is automatically sorted chronologically by the date that items were added to the archive. However, by clicking on "All Results," you can sort these items alphabetically by title instead. From there, click on the title of the resource you'd like to view.

Directory
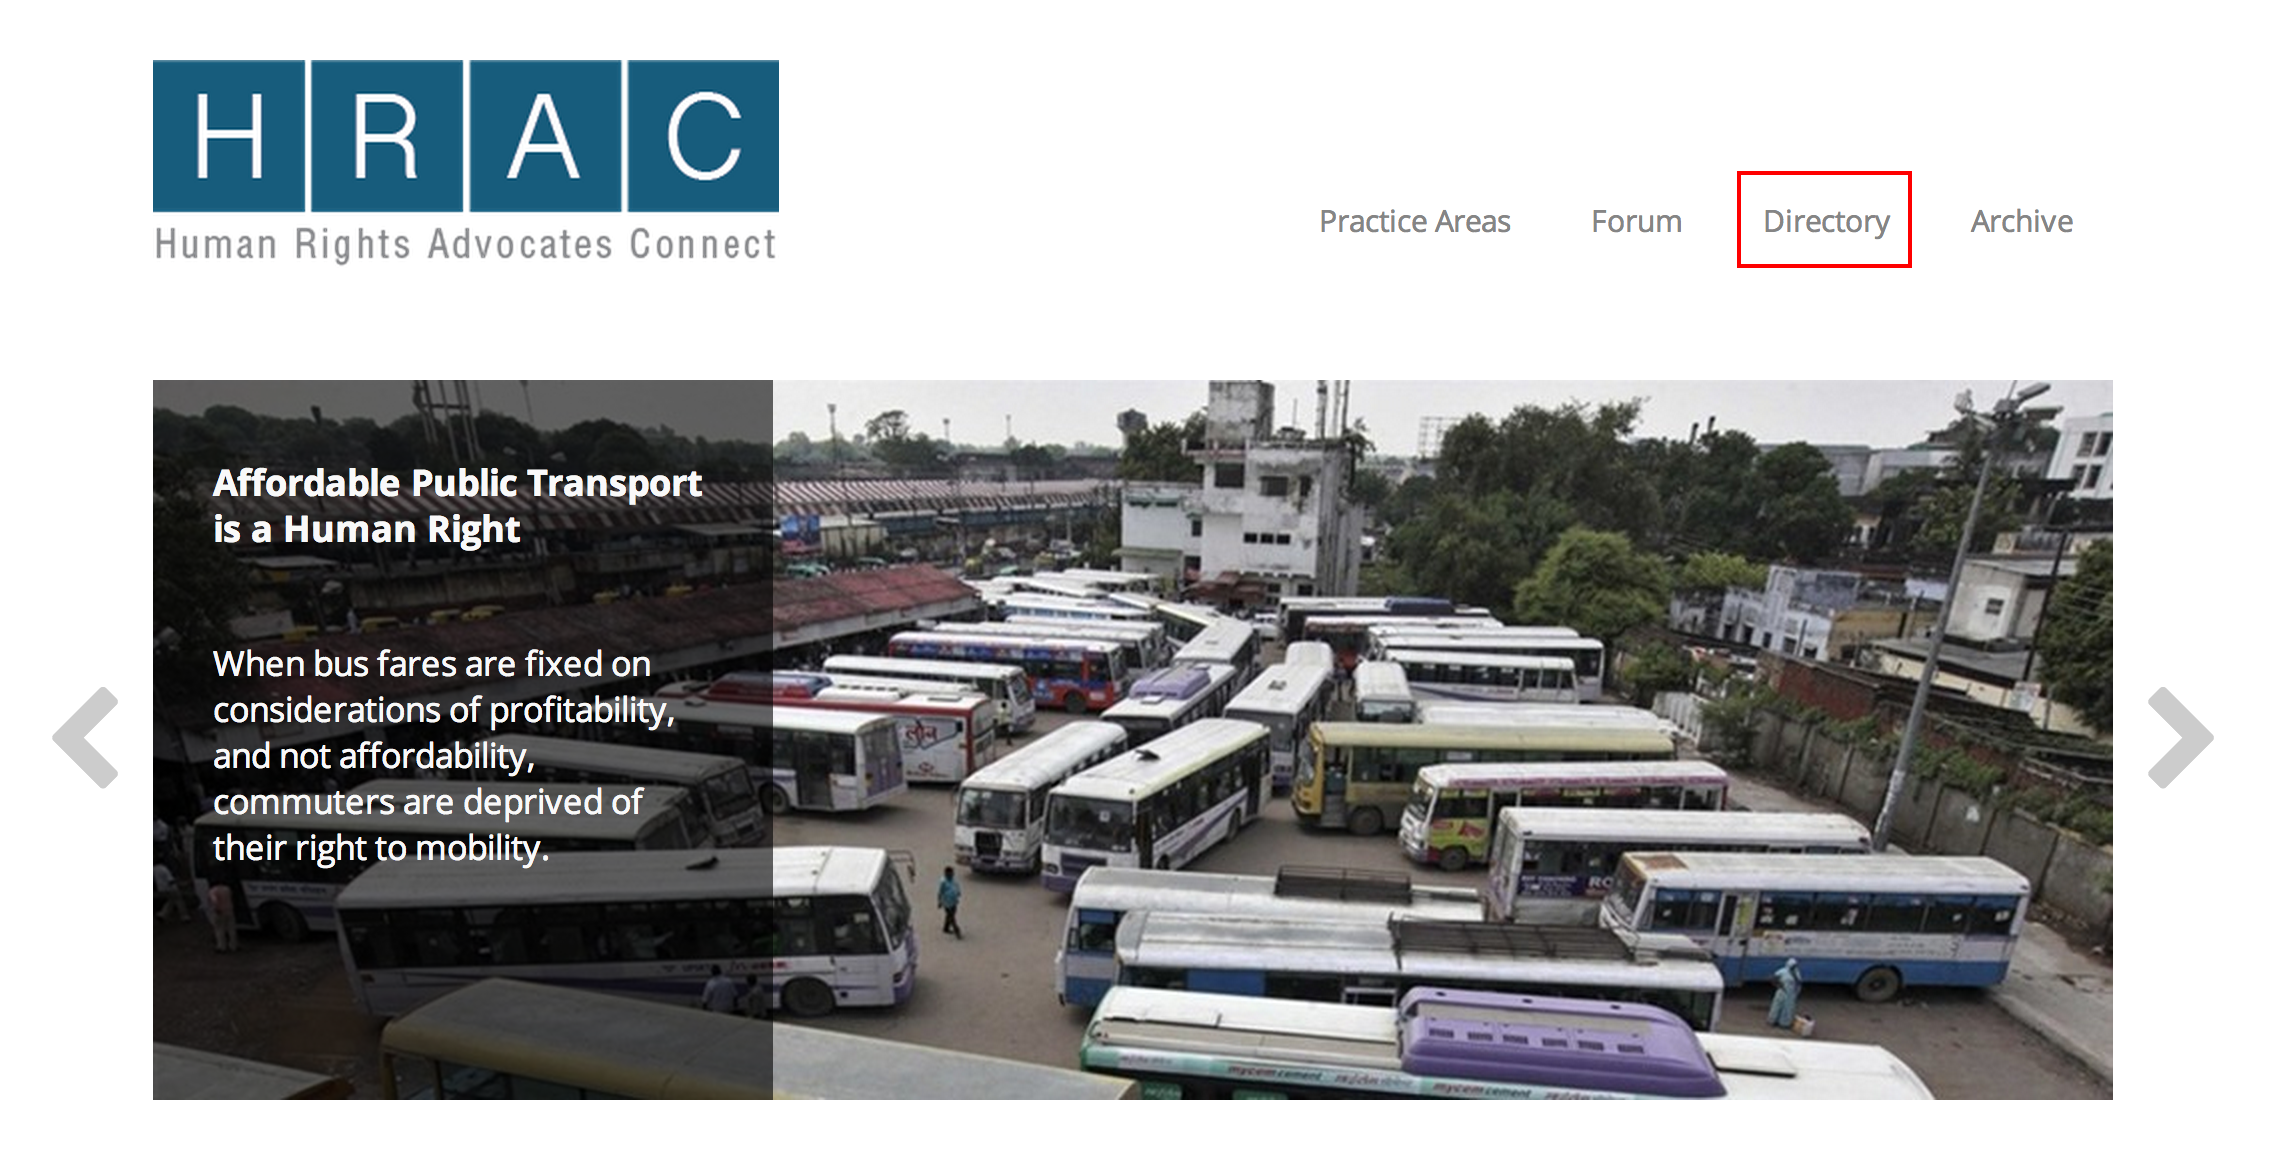
Step 1
Go to the site's Directory page. The directory can also be found in the right upper hand corner of the homepage. This page provides an alphabetized list of all the human rights lawyers in India whose profiles we have collected.
Step 2
If you are searching for a specific lawyer, either enter their name in the site's search bar or click on the letter under "Browse Alphabetically" that corresponds with the first letter of their name. This will narrow the list down to only lawyers whose name begins with that letter.

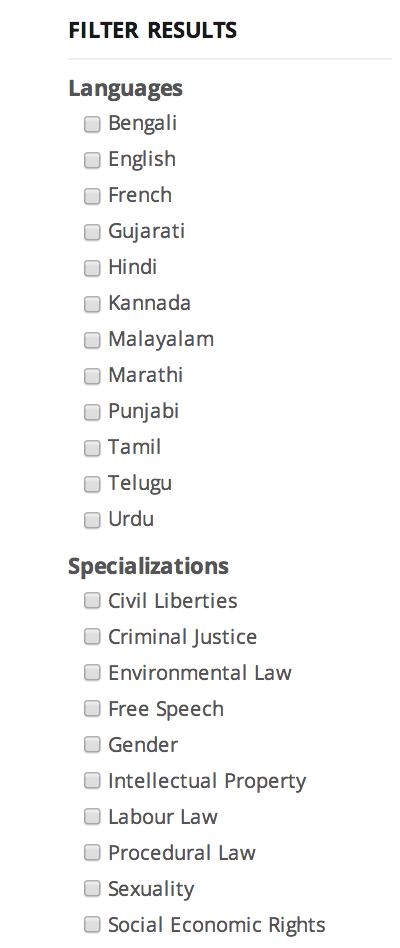
If you are not searching for a specific lawyer whose name you already know, but you are searching for a lawyer who speaks a specific language, is located in a particular area, or has a particular specialization, use the filters on the left side of the screen to narrow your results. When you click on a checkbox, the list on the right will automatically shift to including only those lawyers who fit the terms you have selected.
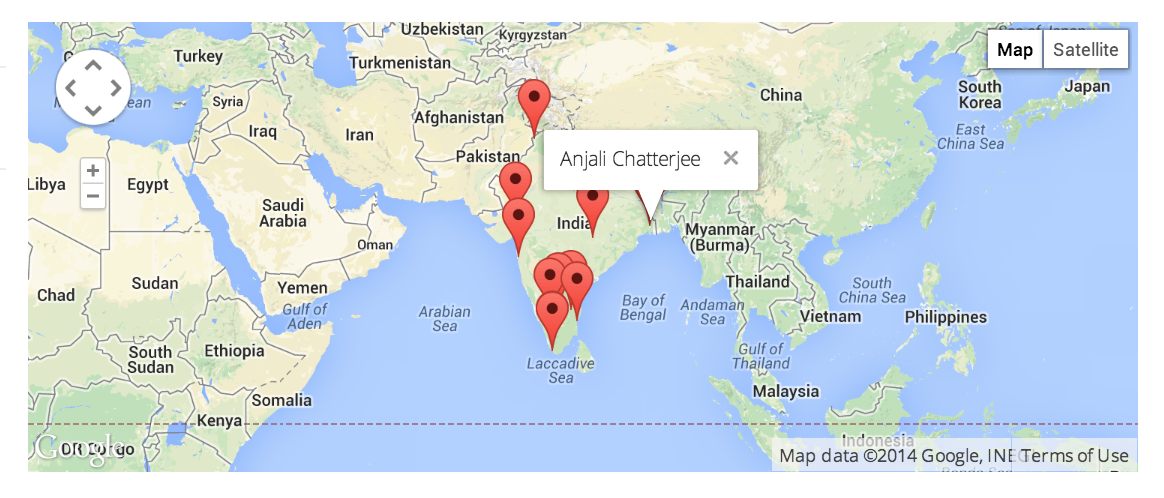
Tip: The map at the top of the page displays the location of all of the lawyers your search has returned—each red marker represents one lawyer. If you click on one of these markers, you can see the name of the lawyer it represents. Clicking on that name will lead you to the lawyer's full profile, as will clicking on the name of any lawyer in the list below.
Step 1
Contact us if you would like to be added to the directory. The "Contact Us" link can also be found on the found at the footer of the page.
Step 2
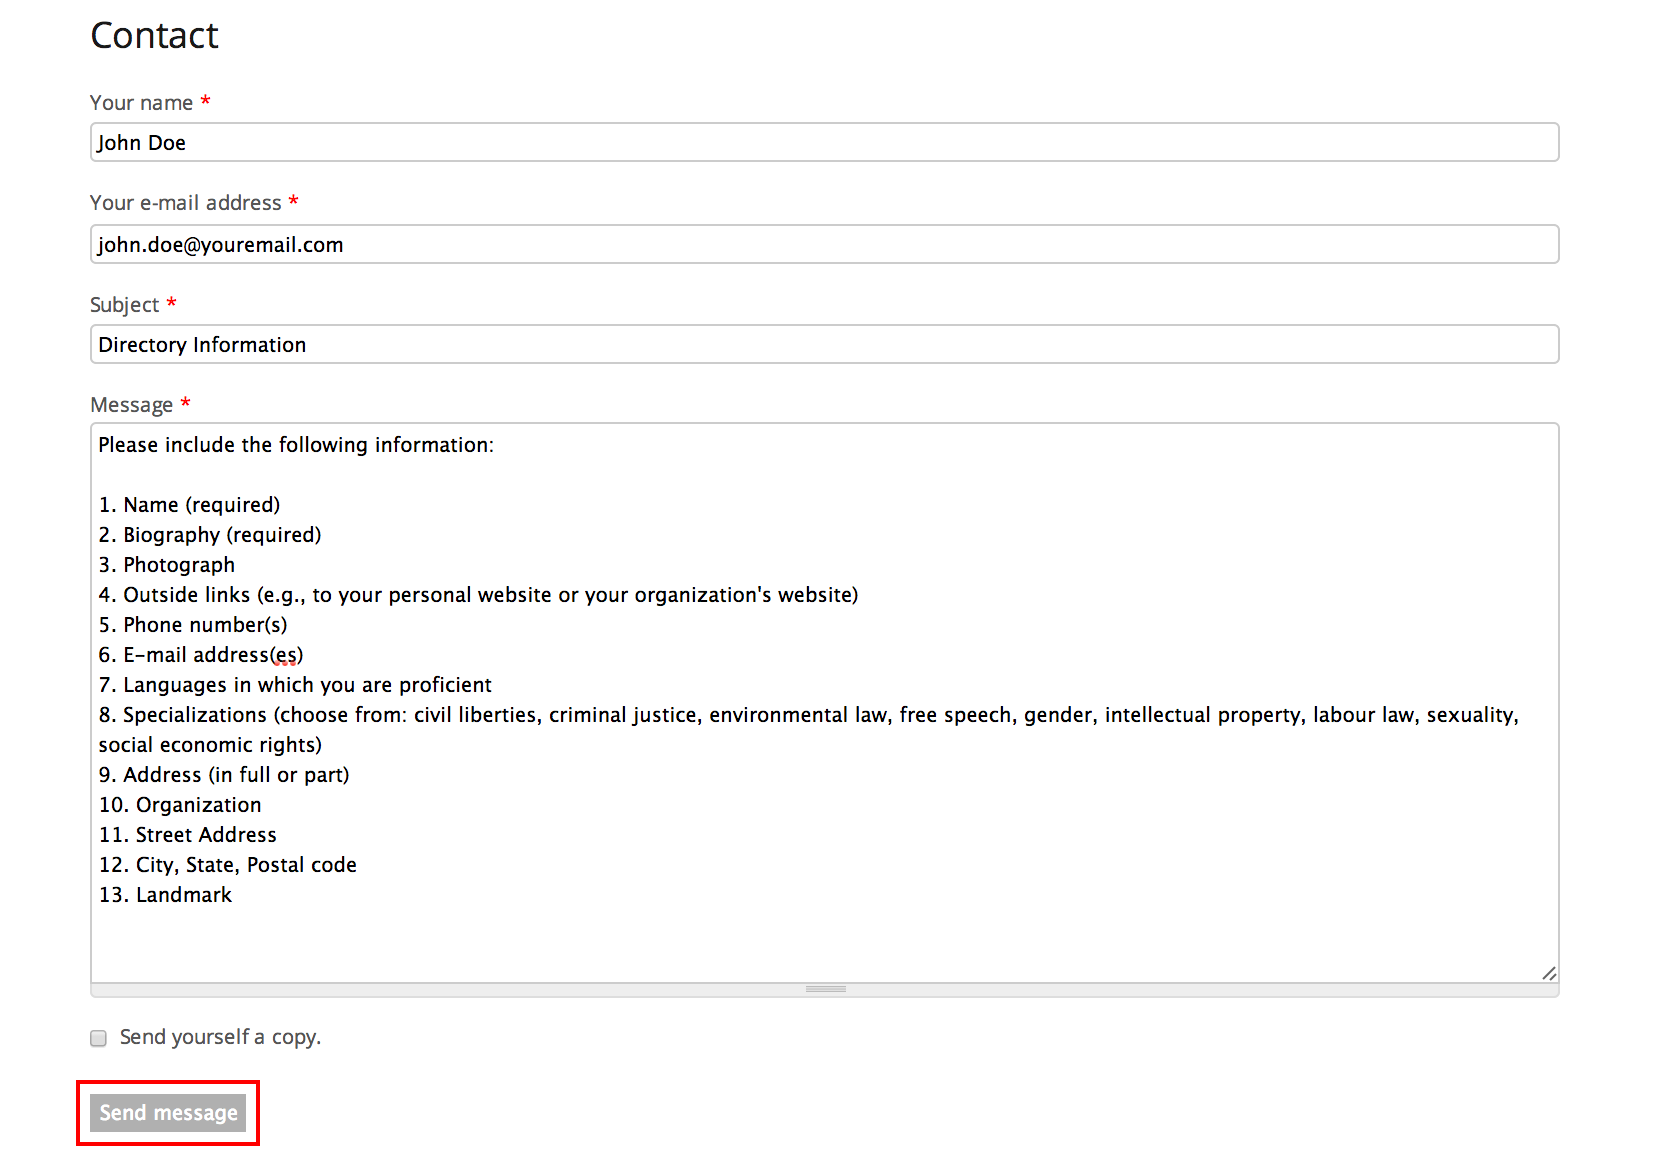
Fill out the "Contact Us" form. Please include any of the following information that you would like to be publicly available including:
- Name (required)
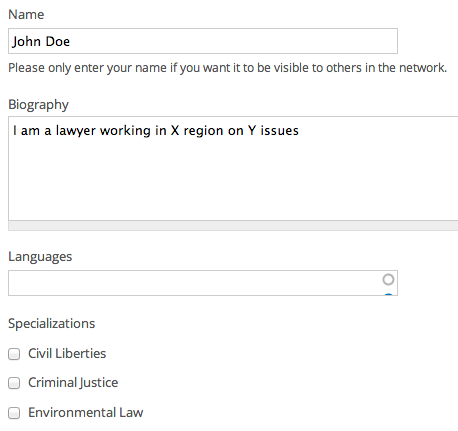
- Biography (required)
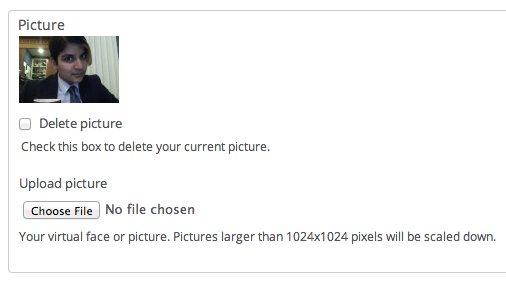
- Photograph
- Outside links (e.g., to your personal website or your organization's website)
- Phone number(s)
- E-mail address(es)
- Languages in which you are proficient
- Specializations (choose from: civil liberties, criminal justice, environmental law, free speech, gender, intellectual property, labour law, sexuality, social economic rights)
- Address (in full or part)
- Organization
- Street Address
- City, State, Postal code
- Landmark
Step 3
Click on "Send Message" to submit your request.
Forums
Step 1
Click over to the forum page of the site. This can also be found on the top right hand corner of the homepage

Step 2
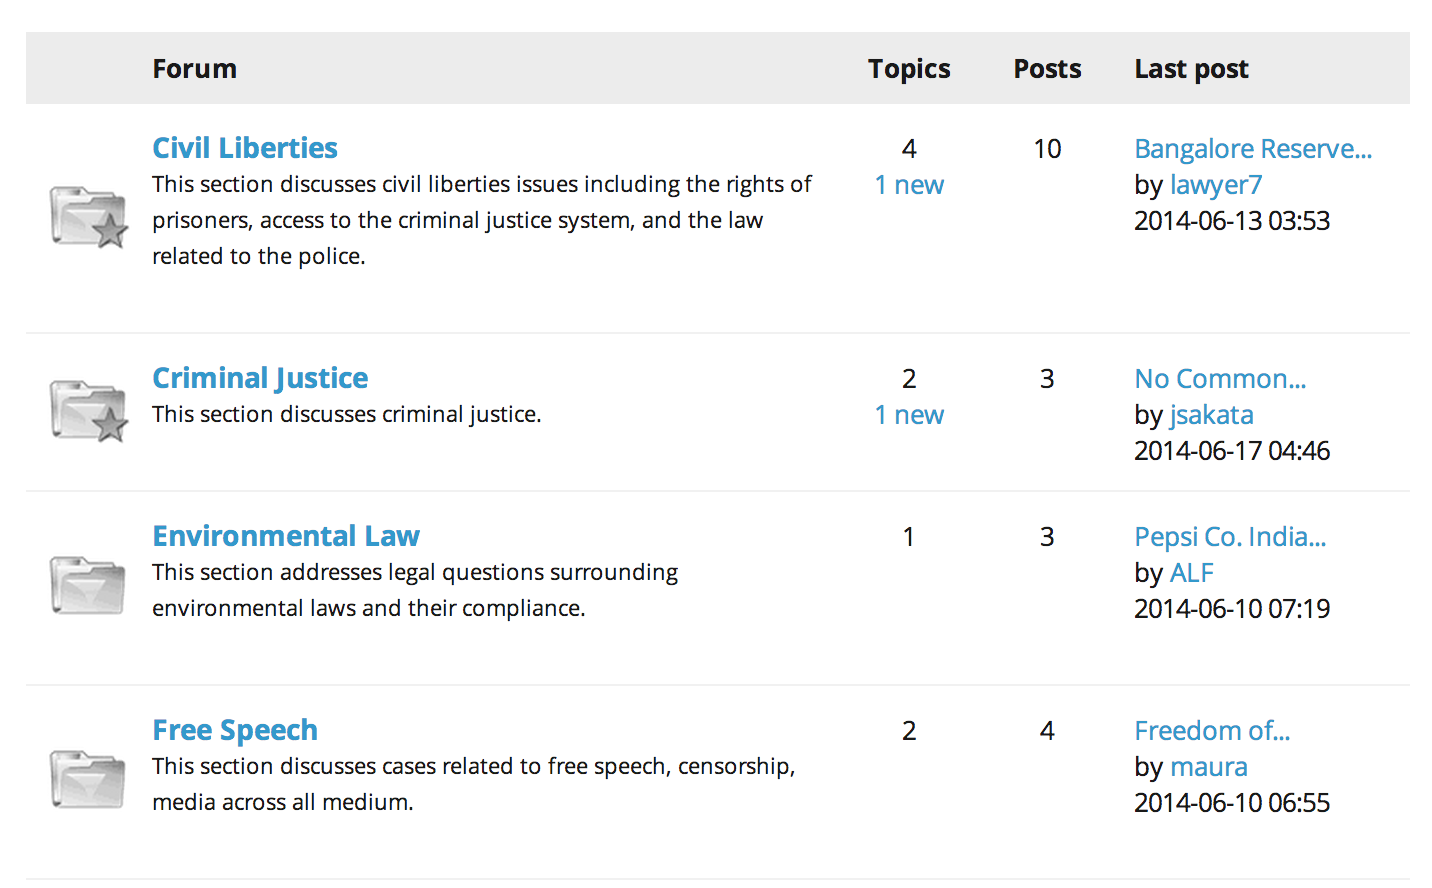
Scroll through and read the descriptions of each of the different topic areas. Select the appropriate section in which you'd like to post your question (e.g., environmental law, intellectual property, etc.), and click on that section.
Step 3
Click the "new post" link and compose your post.

Step 4
Give the post a meaningful subject so that others will know what the question is about and start composing the details of the query in the body.
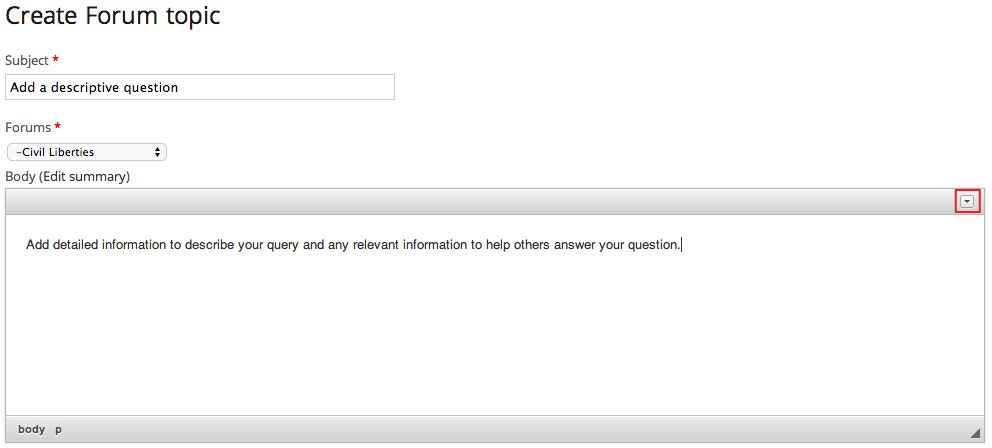
If you would like to format your post, click on the small arrow in the top-right corner of the text box to expand your editing options.

Step 5
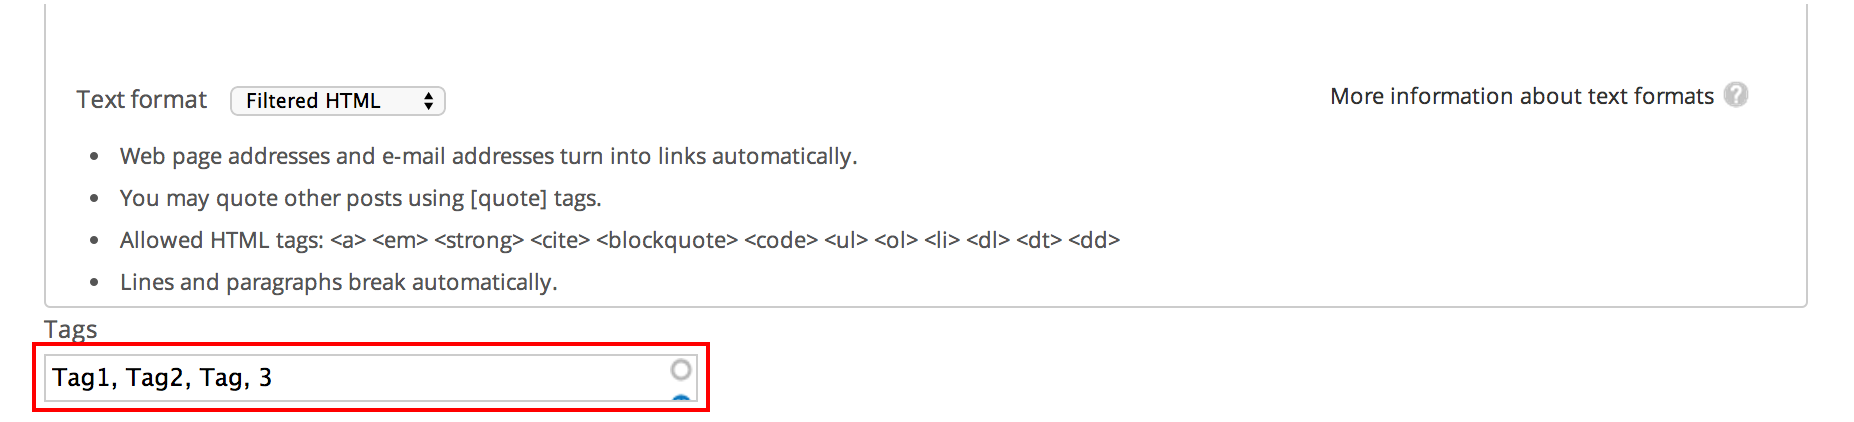
Once you have finished composing the body of your query, scroll down until you see a section for "tags". Add appropriate tags to your post so that others will find it more easily—tags are keywords that are relevant to the content of your query. Tags are separated with commas.
Step 6
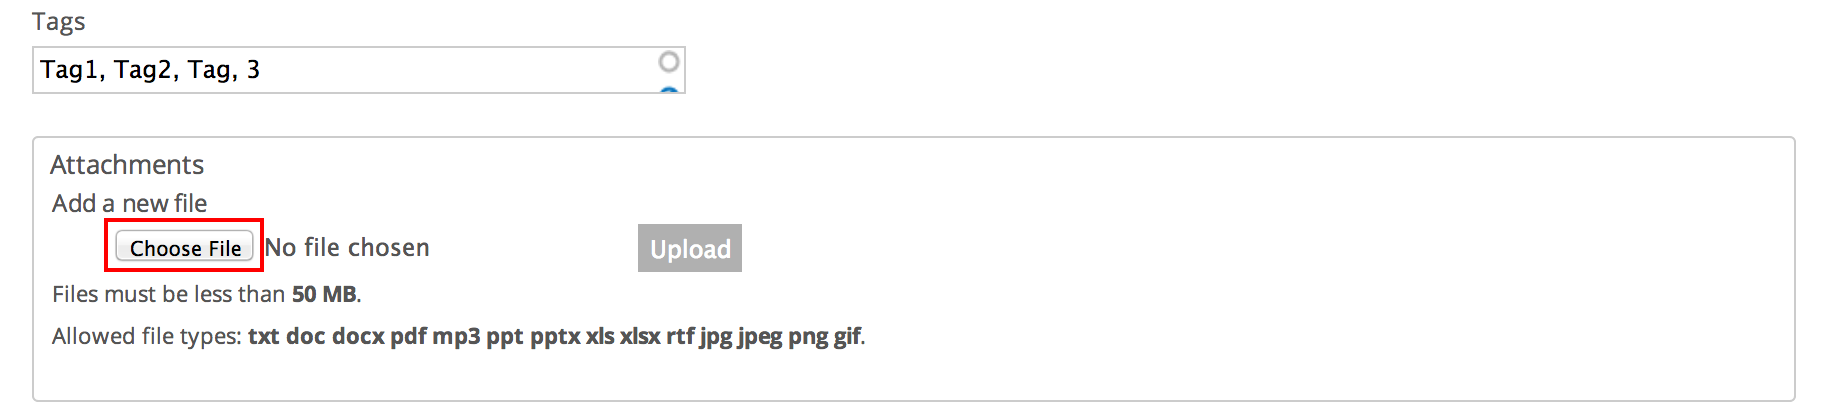
If you would like to attach any relevant file, click the "choose file" button.
Step 7
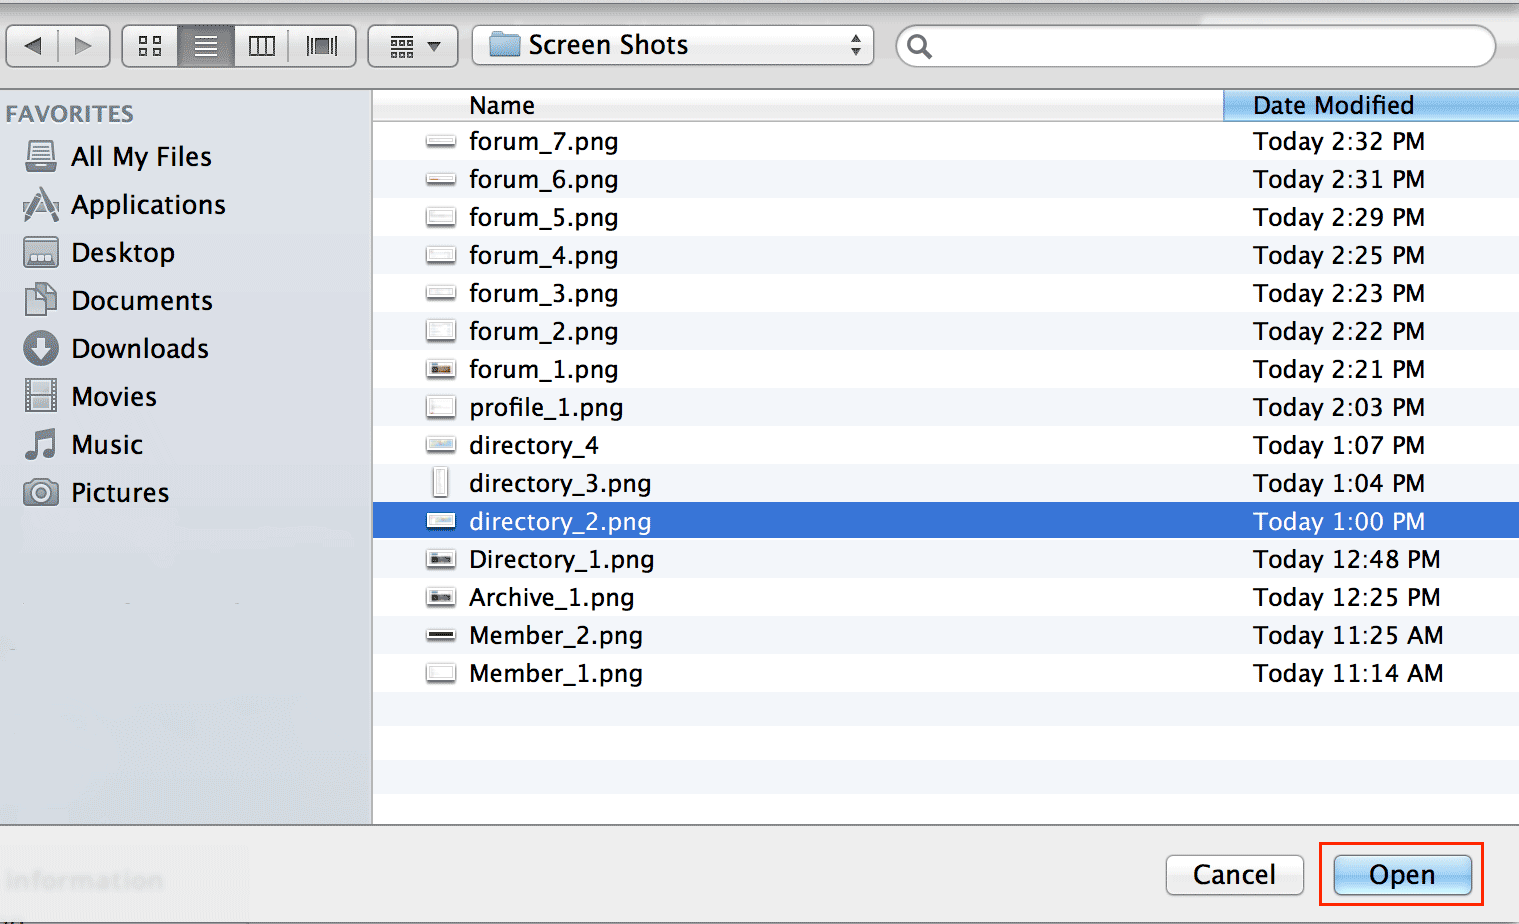
This will open up a window that allows you to select any file you have stored on your computer.
Step 8
Once you have selected the file of your choice, click "upload" to upload the file.

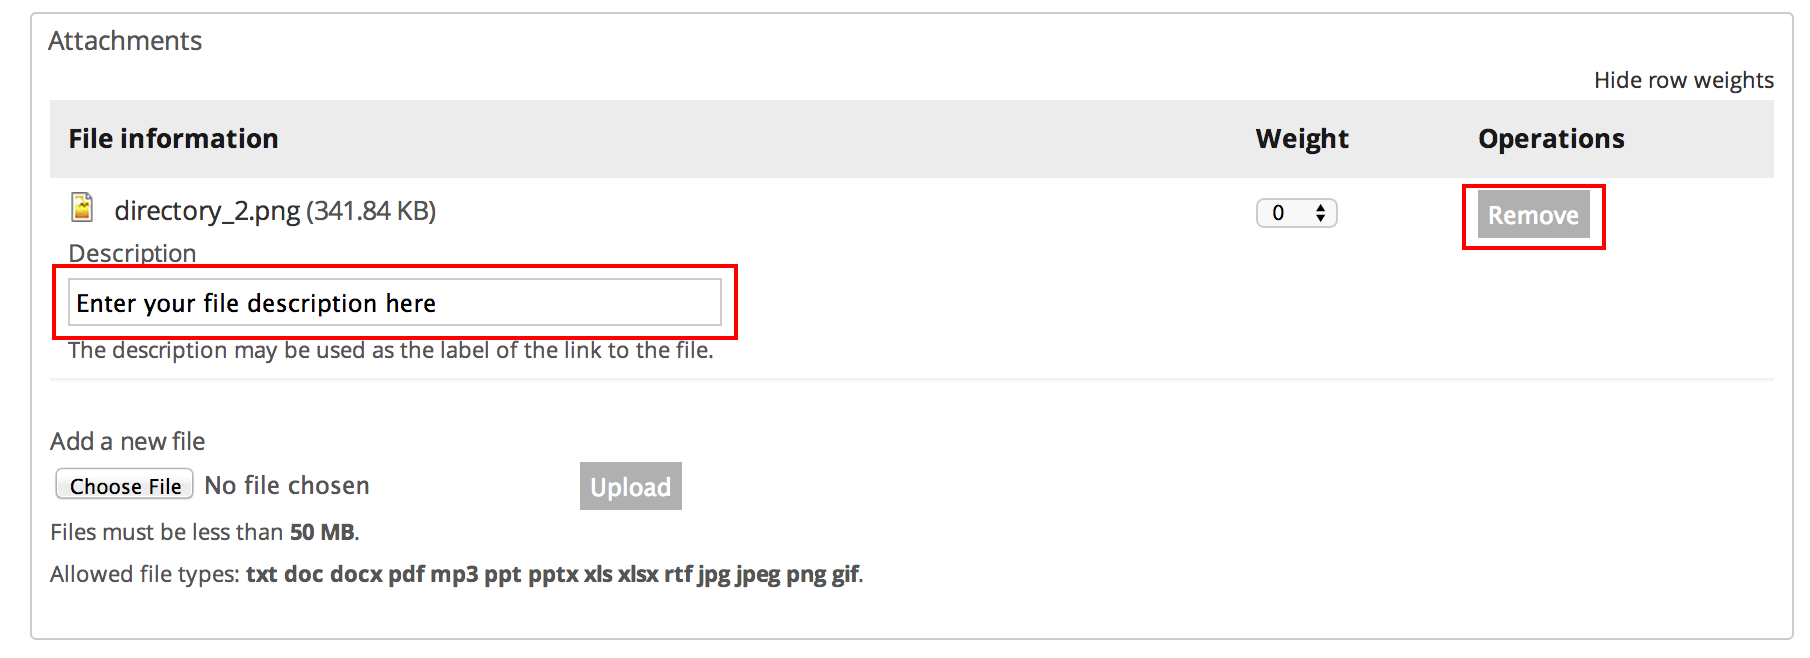
Note: After you have uploaded your file, you can add a description of the file or upload additional files using the same process. You can remove the file you just uploaded by clicking on the remove button.
Step 9
Once you have finished composing your query and attaching any relevant files, scroll down and click "submit." Your post will show up in the forum for others to answer.

Reply to the Original Post
Step 1
Scroll down to the bottom of the page until you see the "Add new comment" box. Type in your comment in the text editor.

If you would like to format your comment, click on the small arrow in the top-right corner of the text box to expand your editing options.
Step 2 (Optional)
If you have a relevant attachment, select "Choose file" to select a file from your computer. After selecting your file, click on "Upload" to upload your document.

Step 3
When you are ready to post your comment, click "submit" to post your comment to the website

Reply to an Individual Comment
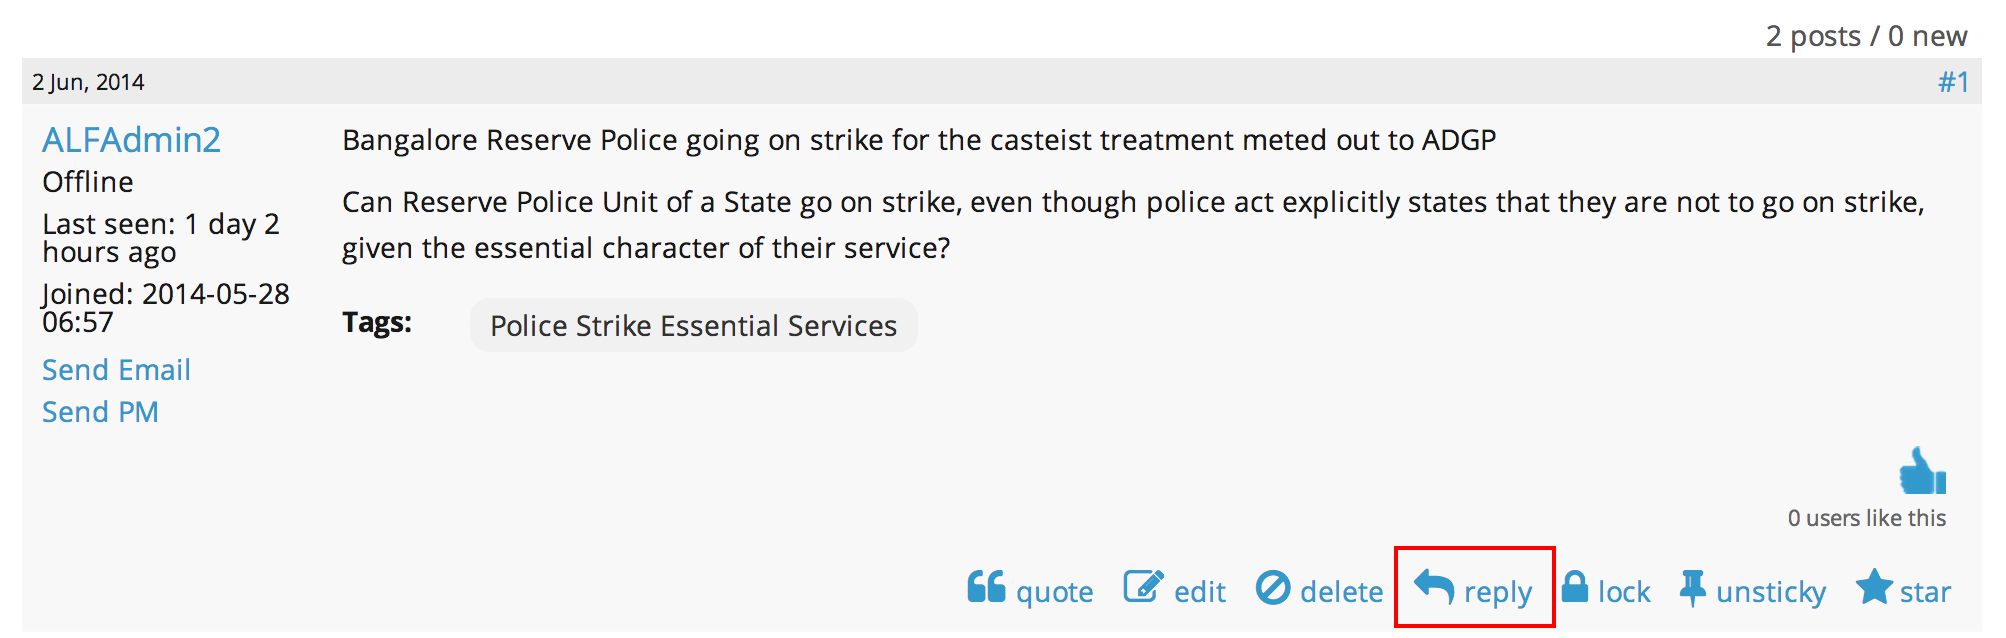
Step 1
Alternatively, you can reply to another user's comment. Click on the "reply" button to reply to individual comments rather than to the original post or to the thread as a whole—in this case, your comment will appear nested below the comment to which you are replying.
Step 2
This will take you to an "Add new comment" box, where you can type in your reply. You may upload documents at this time as well (See Step 2 from "Reply to the Original Post" above for more detail.) Remember to click "Submit" to submit your reply to the website. (See Step 3 from "Reply to the Original Post" above for more detail.)
Step 1
If you would like to attach any relevant file, click the "choose file" button.
Step 2
This will open up a window that allows you to select any file you have stored on your computer.
Step 3
Once you have selected the file of your choice, click "upload" to upload the file.
Note: After you have uploaded your file, you can add a description of the file or upload additional files using the same process. You can remove the file you just uploaded by clicking on the remove button.
Step 4
Once you have finished composing your query or comment and attaching any relevant files, scroll down and click "submit." Your post will show up in the forum for others to answer.
Languages
On the top menu bar, there is a Google Translate button that says "Select Language." Click on this button, and a list of languages will appear. Select the language of your choice.
![]()
The page will refresh, and all content will appear in the selected language. Keep in mind that these translations of the site are being produced automatically by the computer and that they may not be accurate in all cases.
If you are interested in typing on this site in a non-English language, you have two options.
Option One: Transliteration
First, you can use a transliteration service like Quillpad, which supports Bengali, Gujarati, Hindi, Kannada, Malayalam, Marathi, Nepali, Punjabi, Tamil, and Telugu. You type the words in your regional language using your English keyboard (e.g., "hindi me likhna bahut aasaan hai"), and Quillpad will automatically convert this into the script of the language of your choice (e.g., "हिंदी में लिखना बहुत आसान है"). You can experience a demo of this process here, and can use the actual Quillpad editor here; then, you can cut and paste the text you type on Quillpad anywhere you'd like.
Option Two: Enabling Different Keyboard Layouts on your Computer
Windows
If you are using a PC, you can follow Microsoft's steps for enabling keyboard layouts for different languages, and for using the language bar to switch between languages.
Macintosh
On a Mac, click on the Apple menu, then on System Preferences. Depending on which operating system you are using, you may then have to click either "Language and Text" or "Keyboard"—one of these should have an "Input Sources" tab.
Under the "Input Sources" tab, click the plus (+) sign, and choose which language and keyboard layout you would like to add. Then click "Add." Do this for as many languages as you would like.
At the bottom of the "Input Sources" tab is the option "Show Input menu in menu bar." If you select this option, an icon will appear in the top menu bar of your screen. By clicking on this icon, you can select which language you would to be typing in at a given time. Under this icon is also the option to "Show Keyboard Viewer," which will display the layout of the keyboard you are using.
Private Messaging
Step 1
Click on the Messages link on the top menu bar to send private messages to other members of the site. It also informs you when you have a new private message. From this page you can read and respond to received messages or send a new message.

Step 2
Click "Write new message" to start composing a private message.
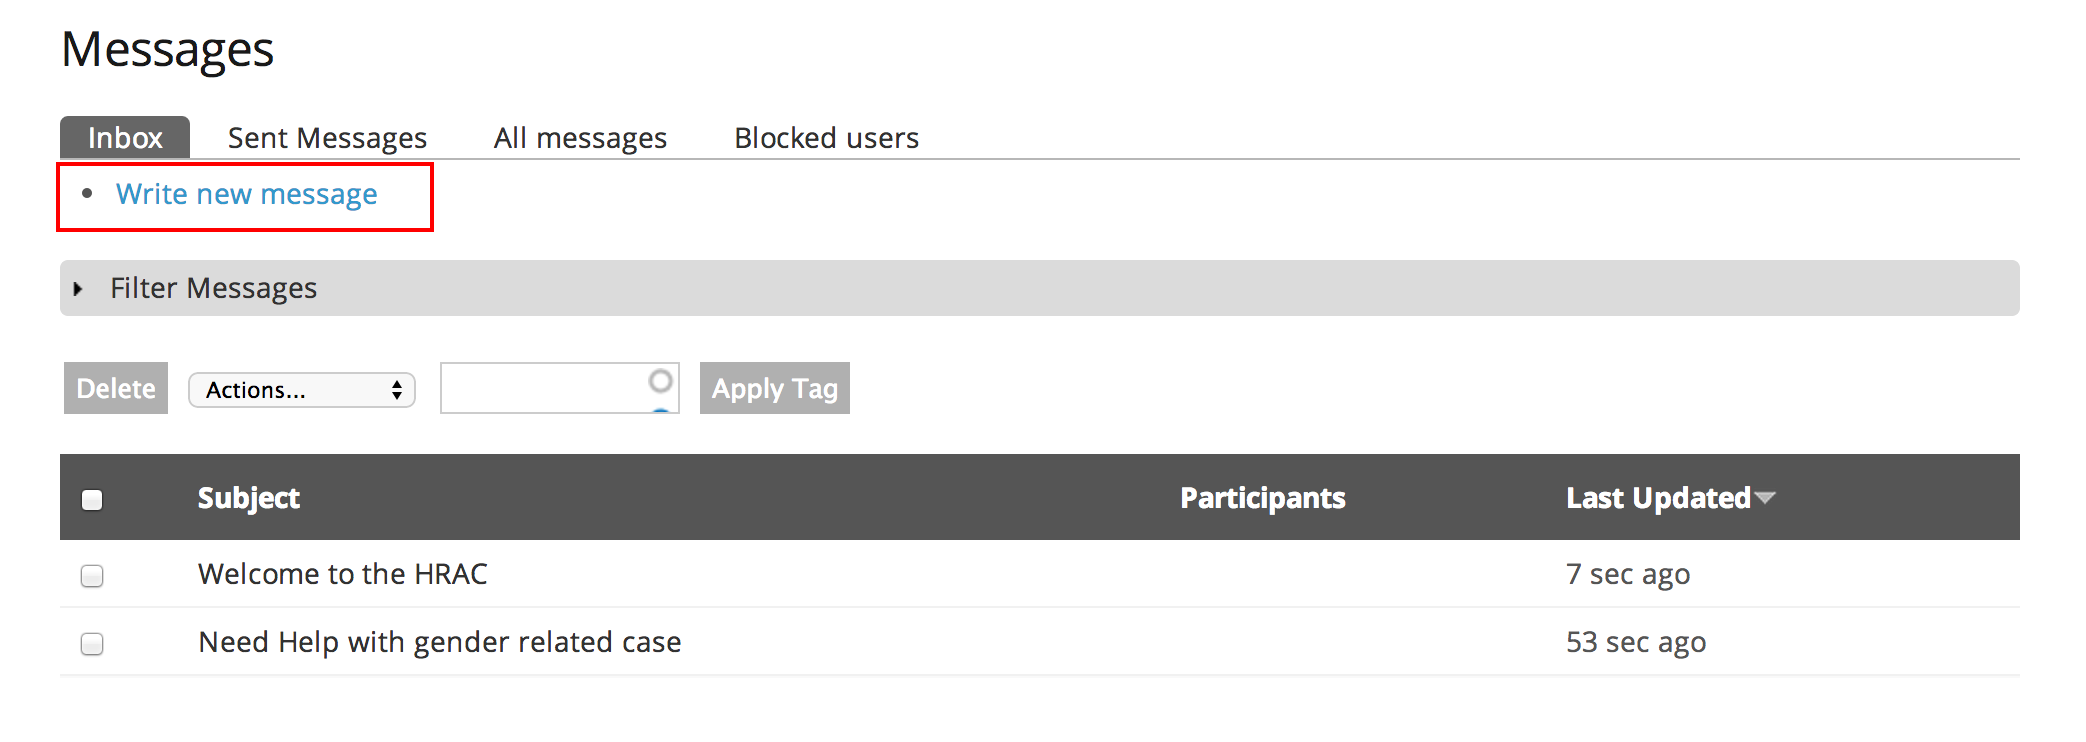
Note: From the message page, you can also view and manage your private messages.
Step 3
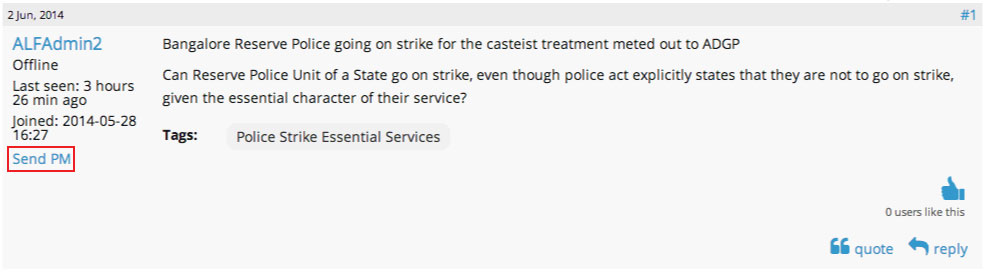
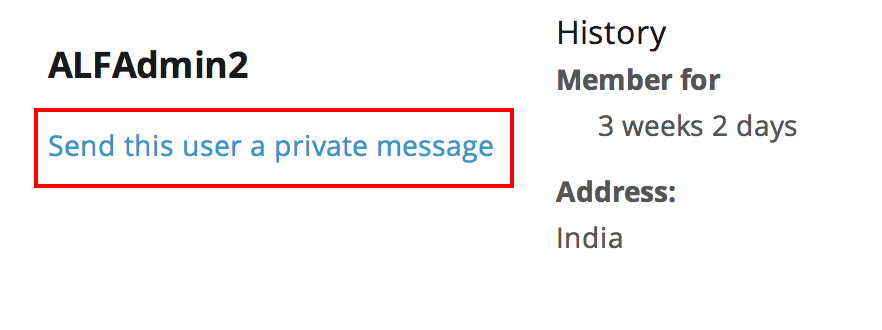
In order to send someone on the site a private message, you must know their username. The is the name associated with them when they write forum posts or when they send you a message. Type the user name in the "To" field. You can then enter a descriptive subject title in the "Subject" field and type in the body of your message. Select "Send Message" to send the message to the user.

Note: You can also send someone a private message directly from the forum or from a user's profile
Profile
Step 1
In the top menu bar on the screen, click on My account
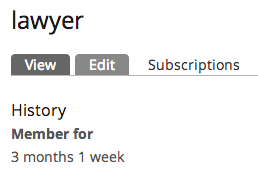
Step 2
Click on the "Edit" tab to edit your profile.
Step 3
Edit and update the e-mail address and password associated with your account as needed.
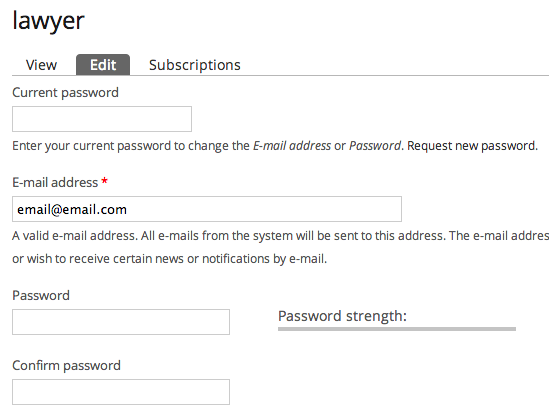
Note: By scrolling down, you will also be able to edit the personal information that other logged-in users can see when visiting your profile. This includes your name, photo, biography, contact info, and other details.
Step 4
When you are done, click "Submit" and your profile will be updated.
Subscription
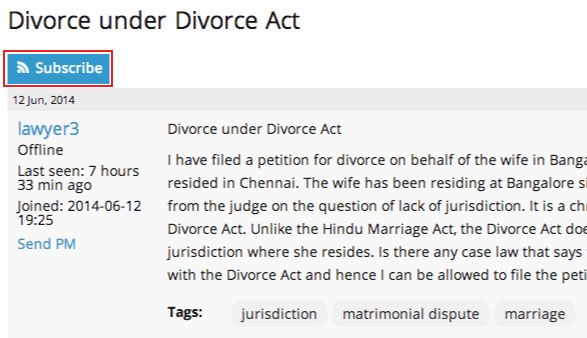
At the top of many pages on this site, you will see the option to "subscribe" to content. This means that you will receive an e-mail notification when new content of a particular type is posted.
Step One: Making Your Selections
Clicking on the "Subscribe" button will cause it to expand into a menu of options. For example, with the forum thread shown above, you can subscribe to the thread ("this page"), to any forum content tagged or categorized in the same way as the thread, or to any forum content by the author of this thread.
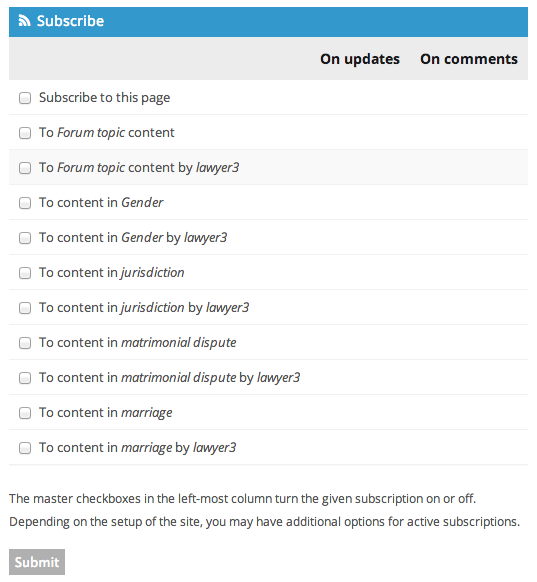
Clicking the "master checkbox" on the left of any of these options means you will be subscribed when new content of this type is posted. Once you check this box, you can also choose to receive notifications when content of this type is updated or commented on.
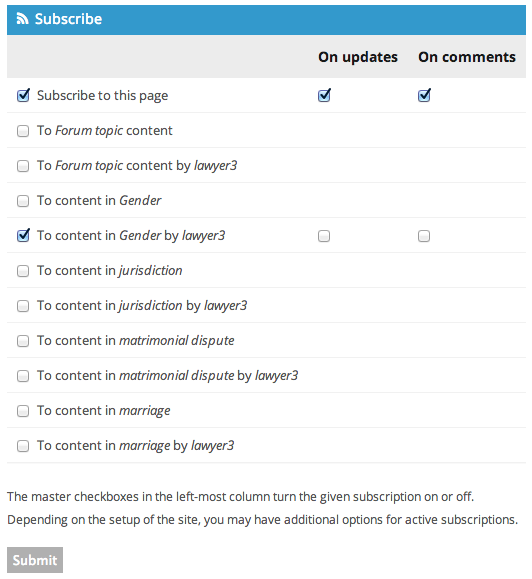
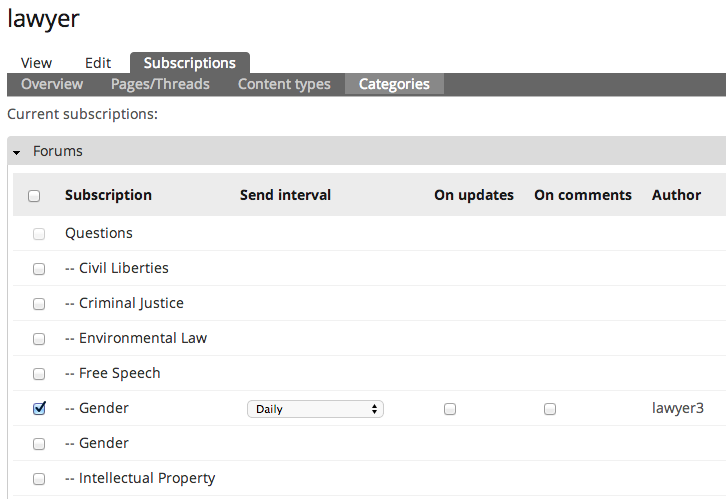
In the above example, the user will receive notifications when someone comments on the current thread, or when the post is updated. The user will also receive a notification any time "lawyer3" posts a topic in the Gender forum.
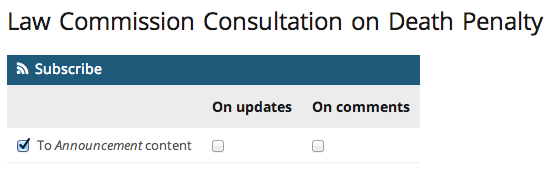
You can subscribe to forum content by going into any forum thread. You can also subscribe to receive notifications when a new announcement, event, archive item, or directory entry is posted.
Step Two: Managing Your Subscriptions
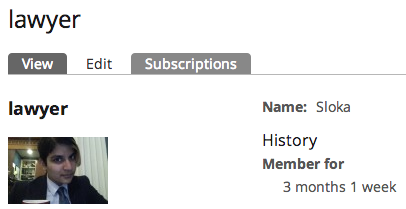
To view or edit your subscriptions, first click on the My account button at the top of any page.

Then, click on the "Subscriptions" tab at the top of your user profile.
Here, you will see an overview of your existing subscriptions.
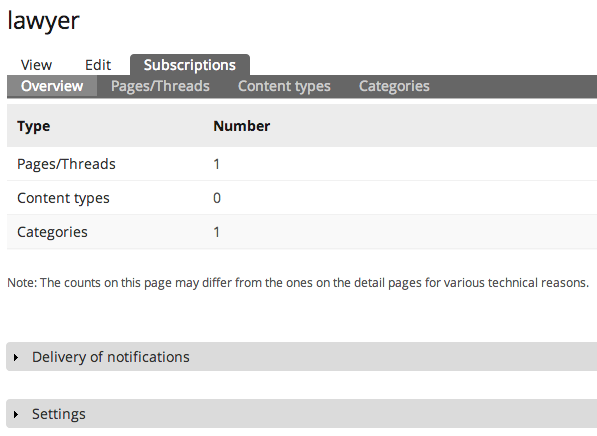
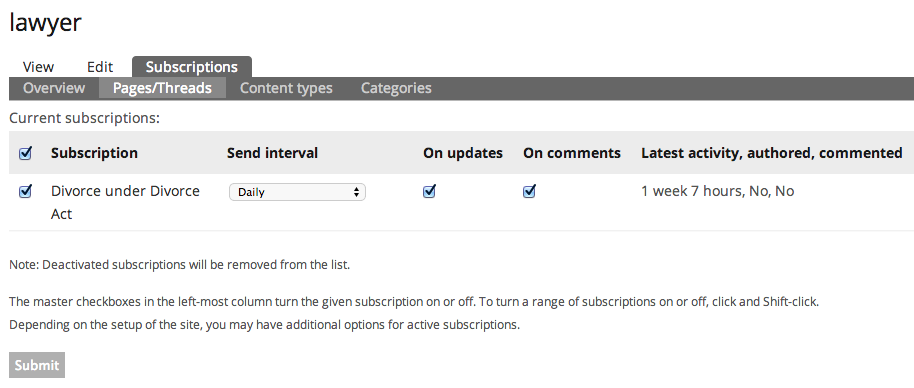
By clicking on the "Pages/Threads" tab, you can see which specific forum topics you have subscribed to. If you would like to unsubscribe from any of these, you can uncheck the boxes and then click "Submit."
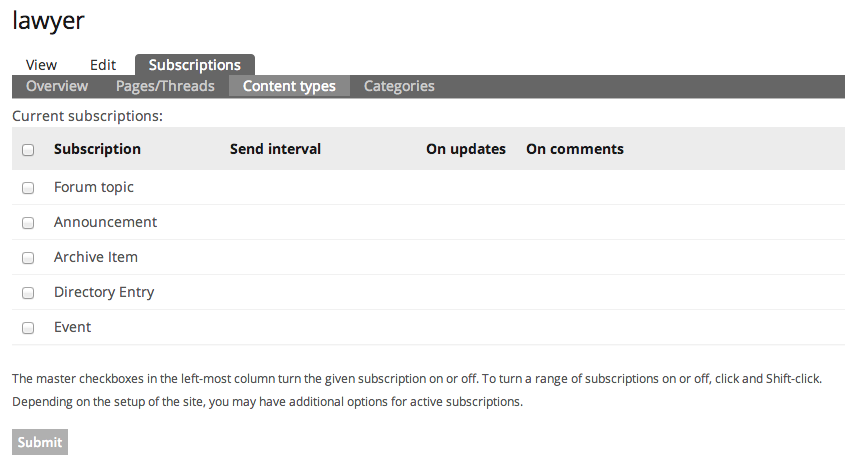
By clicking on the "Content Types" tab, you can manage your subscriptions to particular content types—for example, if you want to subscribe to new announcements or events.
The "Categories" tab gives you a listing of all tags/categories associated with content. You can fine tune your subscriptions here to be notified only when content tagged with a particular term is posted, for example.
Step Three: Managing Your Settings
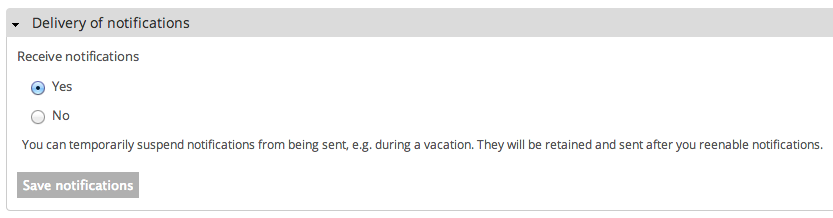
Going back to the "Overview" tab, you will see at the bottom of the page options for "Delivery of notifications" and "Settings." Under "Delivery of notifications," you can temporarily disable all of your subscriptions.
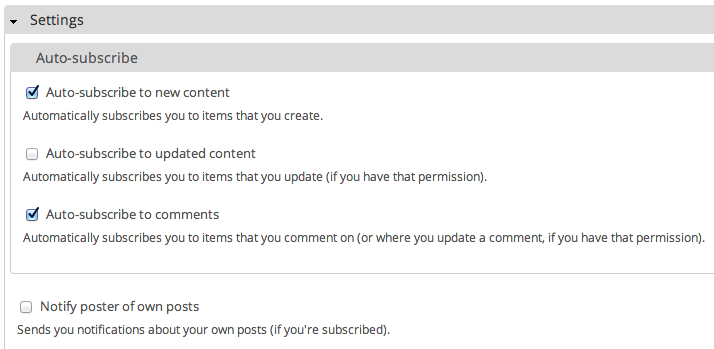
"Settings" provides you with a number of options regarding your subscriptions. One default setting is that you will automatically be subscribed to forum threads that you create or comment on. You can disable this under "Auto-subscribe."
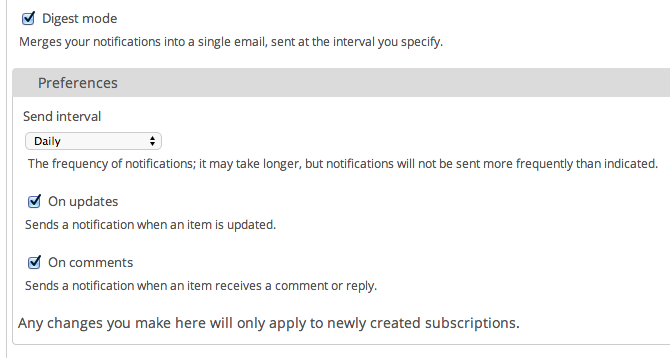
Another default setting is that subscription notifications are delivered in a daily digest -- this means that all your notifications will be grouped together and sent in one email approximately every twenty-four hours. You can turn off digest mode if you would like to receive an individual e-mail for each subscription notification. You can also change the frequency of these e-mails.
Note: Changing the frequency settings here will only apply to new subscriptions you create. In order to edit the mailing frequency of your existing subscriptions, go back to the tabs where the subscriptions are listed ("Pages/Threads," "Content types," and/or "Categories"), and edit them individually there.
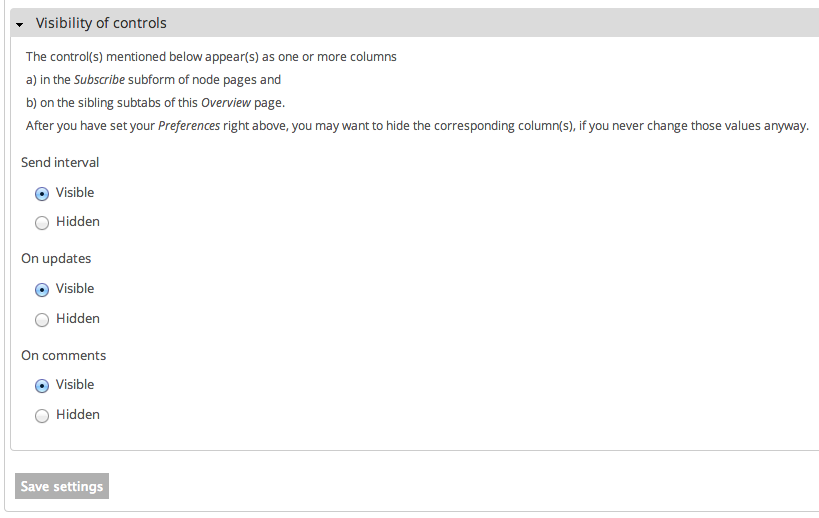
Finally, the "Visibility of controls" section is there mostly for administrative purposes. You will likely not need to change this -- all it does is ensure that the "On Updates" and "On Comments" options remain visible to you when subscribing to content.